Installing Finch on Windows
Prerequisites
To get started with Finch on Windows, the development machine must meet the following prerequisites.
- Windows versions:
- Windows 11 (x86-64)
- Windows 10 Version 1903 or later, with Build 18362.1049 (x86-64)
- Recommended minimum hardware requirements is at least 2 vCPU and 4 GB memory.
- Administrative privileges are required to install Finch on to the machine.
- WSL 2 already installed
- (Optional) For the best experience running terminal commands on Windows, it's recommended to install Microsoft's Windows Terminal
To determine the build version of your Windows 10 installation, you can either run the following command:
[System.Environment]::OSVersion.Version

Major  Minor  Build  Revision
-----  -----  -----  --------
10     0      20348  0
...or press Windows + R and run winver.exe.
So long as the "Build" number is greater than 18362, WSL 2 and Finch are supported. The next section will cover how to install WSL 2 based on which version of Windows you have installed.
Installing WSL 2
There are two different methods of installing WSL 2 depending on which version of Windows you have installed. For newer versions (Windows 11 and Windows 10 with build greater than 19041), follow this guide from Microsoft. For Windows 10 builds greater than 18362.1049, follow this guide (make sure to follow the WSL 2 steps as well).
Verifying WSL 2 install
After you're done installing WSL 2, or if you've already had it installed and you've run wsl --update, you can verify your installation.
To verify your WSL 2 installation, run the wsl.exe -l -v command. The output should look similar to this:
wsl.exe -l -v
  NAME          STATE           VERSION
* Ubuntu        Stopped         2
The wsl.exe --status command should also have output similar to this:
wsl --status
Default Distribution: Ubuntu
Default Version: 2
If the default version is not 2, run wsl --set-default-version 2.
If your any other output is different or these commands do not work, please refer back to the Microsoft guides for troubleshooting steps.
Installing Finch
After verifying your WSL 2 installation, Finch can be installed like so:
- Download the latest Finch Windows installer (
Finch.msi) from Finch's GitHub repository -
Run
Finch.msi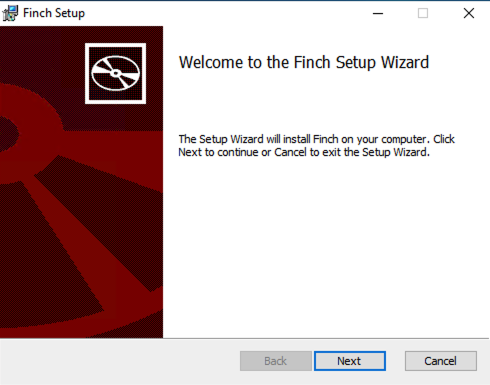
-
Read and accept the Finch license and click Next.

-
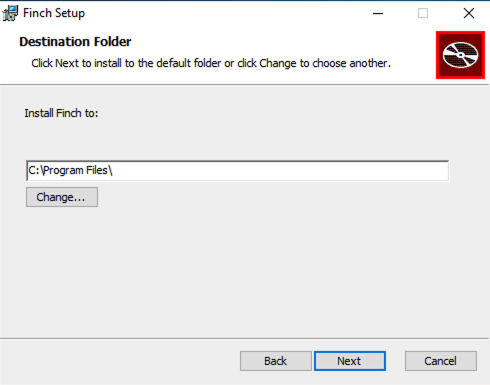
Select your install location if different from the default location, and click Next.
-
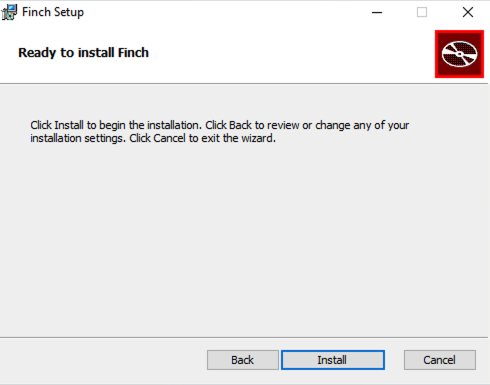
Click Install.
-
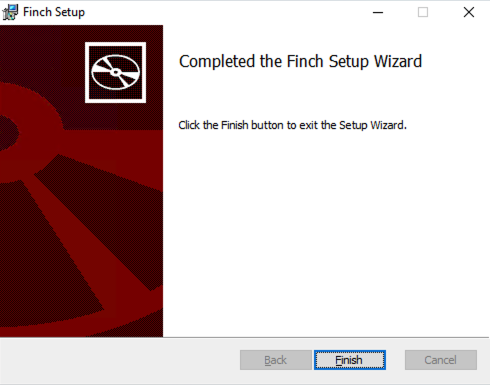
When the Finch installation is complete, you can close the installation window by pressing Finish.
-
Finch is now installed! Relaunch any terminal windows in order for the
finchcommand to be available in your PATH. Navigate to Verifying Finch install to proceed.
Warning
By default, Finch uses the standard WSL configuration, which mounts the host's C drive into Finch VM with read-write access. If you prefer to restrict access to the VM (and the containers running inside) by setting the C drive to read-only, follow the mentioned here.